My name is not Doni, but you suck at Photoshop. Haha, if you often browse photoshop tutorial at Youtube, you must be familiar with that line. He's teaching Photoshop with hilarious way.
Anyway Im gonna give you some Photoshop tutorial here. I got it from Youtube, but no, not from Doni, hehe, im gonna write it in another tutorial. I forget where the original video was, so i cant refer to it, souwry.
My Photoshop is Photoshop CS, so this tutorial will be aplicable for later version.In this tutorial, i will show you how to Make a Glass Effect Orb. This is my first tutorial, and i just start learning photoshop about two months ago, so feel free to comment. Without further sayings, let's get started!!!!
First thing first, let's open a new file, File - New. Im using 500x350 pixel for my new document. You can use any dimension to your liking. Click OK.

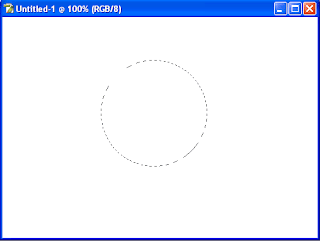
Okay, now select the Elliptical Marquee Tool, and make a perfect circle (Hold Shift to keep the cirle proportional)
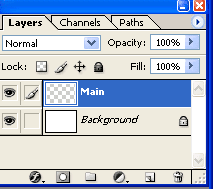
Create a new layer and switch to the new layer. This is important, since the result would be different if you're not switch to the new layer. Name the layer, for example i will name it 'Main'
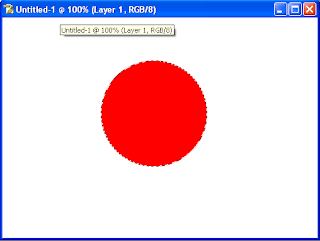
Select Paint Bucket Tool, select the color from Color Swatches. I pick red, but you can pick another color. And then fill the circle
Create a new layer (i named it 'Dark') and then choose Gradient Tool with Foreground to Transparent. Pick a darker color from your original orb color. Mine is red (#FF0000), so i take #891B1B as the dark color.
Drag the line, from the bottom to center of the circle (a). You'll get something like picture (b)
While the circle still selected, go to Select - Modify - Contract. I use 3 for the value.
And then select the Elliptical Marquee Tool again. In the menu, select Subtract to Selection, then create another circle above the first circle, but intersect with it. See the picture for clear explanation.
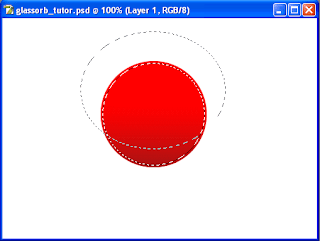
Contract the selection again by 3, and then Feather it to 10. You can change the value. This is what i get

Create a new layer (i named it 'Bright'). Select the Paint Bucket Tool and then pick a bright color. I use #F58C8C because my basic color is red. Splash it out!!!!
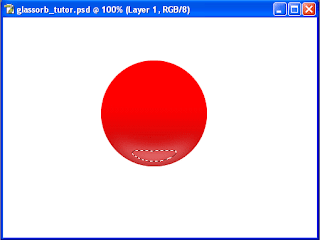
Next, create a new layer and named it 'Upbright'. Deselect previous selection, then create a new Elliptical Selection in the upper side of the orb.
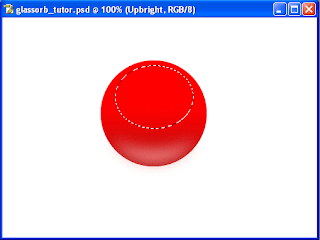
Use Gradient Tool, still with Foreground to Transparent. Pick white color as foreground and background. Drag from above the selected circle to bottom of that circle.
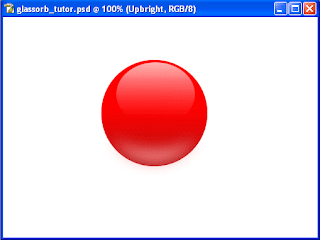
Finally, last step, is to merge all layers into one layer. Choose the top layer (if you following me, it should be Upbright layer) and then click Ctrl+e three times. In the end, there's gonna be two layers, Background and Main, where the orb is in the Main layer. The orb can be moved anywhere in your canvas right now.
I hope you enjoy this tutorial. You don't have to strict to the rules. Everybody have their own unique style, so just free your soul and do it. I only give you the mainline, the rest is up to you. Don't forget to leave comment, okay? Or you can mail me at dethocean@gmail.com. See you next time. Bye for now.


Komentar